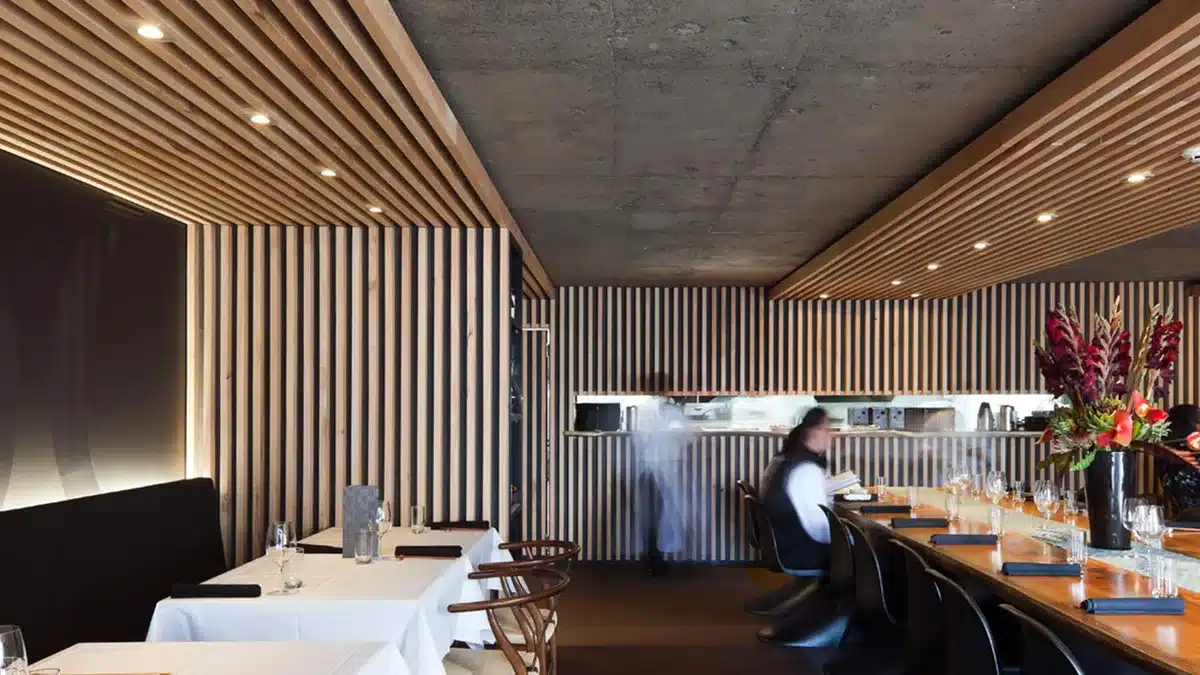
Visual merchandising is the way a shop presents its products to sell them, through its windows, layout, fixtures, displays, signage, lighting and colour. In New Zealand it is also a job: the government’s Tahatū career service counted about 2,900 visual merchandisers at the 2023 Census. This guide shows how it works in practice, using stores Studio Gascoigne designed in Auckland and Wellington.
Key Takeaways
- Visual merchandising covers windows, zones, fixtures, displays, signage, lighting and the backdrop behind the stock.
- Divide a store into zones so shoppers know where they are and what each area is for.
- Keep the backdrop quiet when the products are colourful, and let the stock do the talking.
- Create one or two focal points rather than giving every shelf equal weight.
- Write signs for the most hurried customer in the store.
- A refresh does not need a full fit-out: new graphics, signage and a few display units can change a store.
What Is Visual Merchandising?
Visual merchandising is the presentation of products in a store so that people notice them, understand them and buy them. It includes the shop window, the route through the store, how products are grouped, the fixtures and displays that hold them, the signs that explain them, and the light and colour around them. Done well, it makes a store easy to shop and memorable.
Tahatū describes visual merchandisers, also called display artists or window dressers, as people who design and install displays of clothing, furniture and other products in windows and retail store interiors, sometimes for product campaigns or promotional events.
| Visual merchandising in New Zealand | Figure |
|---|---|
| People doing the job (2023 Census) | About 2,900 |
| Change since the 2018 Census | Decrease |
| Most common pay | $24 to $33 an hour |
| Upper pay | $41 an hour |
| Training time | 0 to 1 year |
Source: Tahatū, Visual merchandiser, checked October 2026.
What Are the Main Elements of Visual Merchandising?
The main elements are the window and entrance, the layout and zones, fixtures and displays, focal points, signage, lighting and the backdrop of colours and materials. Each one does a different job, and they work best when planned together with the store design rather than added after it.
| Element | What it does | Example from the studio’s work |
|---|---|---|
| Windows and entrance | Stop people outside and draw them in | Icebreaker’s open, barn-like shopfront |
| Zones | Break the store into areas shoppers can read | Glassons’ Salon, Library and Conservatory |
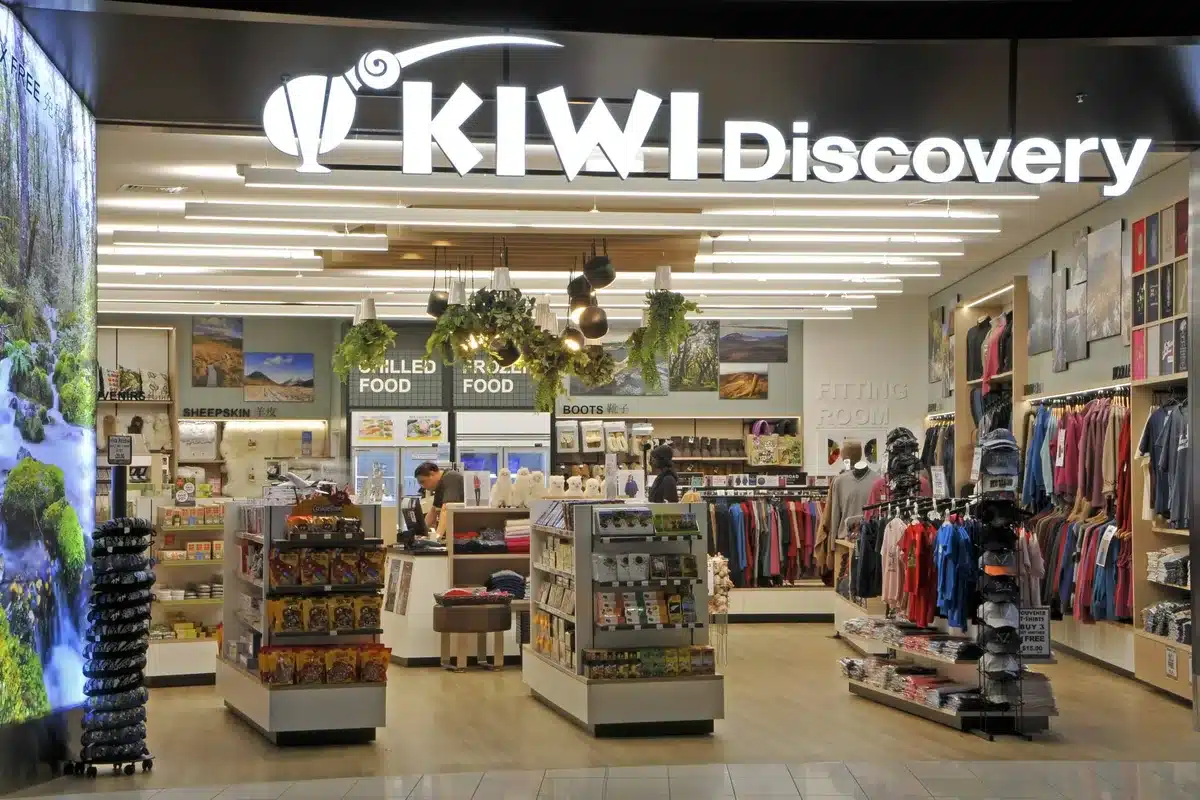
| Fixtures | Hold stock and let the range change | Kiwi Discovery’s multi-purpose racking |
| Focal points | Pull attention to featured product | Number One Shoes’ market-stall displays |
| Signage | Explain the range quickly | Kiwi Discovery’s explicit category signs |
| Backdrop | Frame the product without competing with it | The Cosmetic Store’s white and neutral timber |
| Planogram | Fix where each product sits | The working drawing the store team follows |
A planogram is the working drawing of visual merchandising. Wikipedia describes planograms as visual representations of a store’s products on display and a tool for visual merchandising.
How Do You Use Zones to Guide Shoppers?
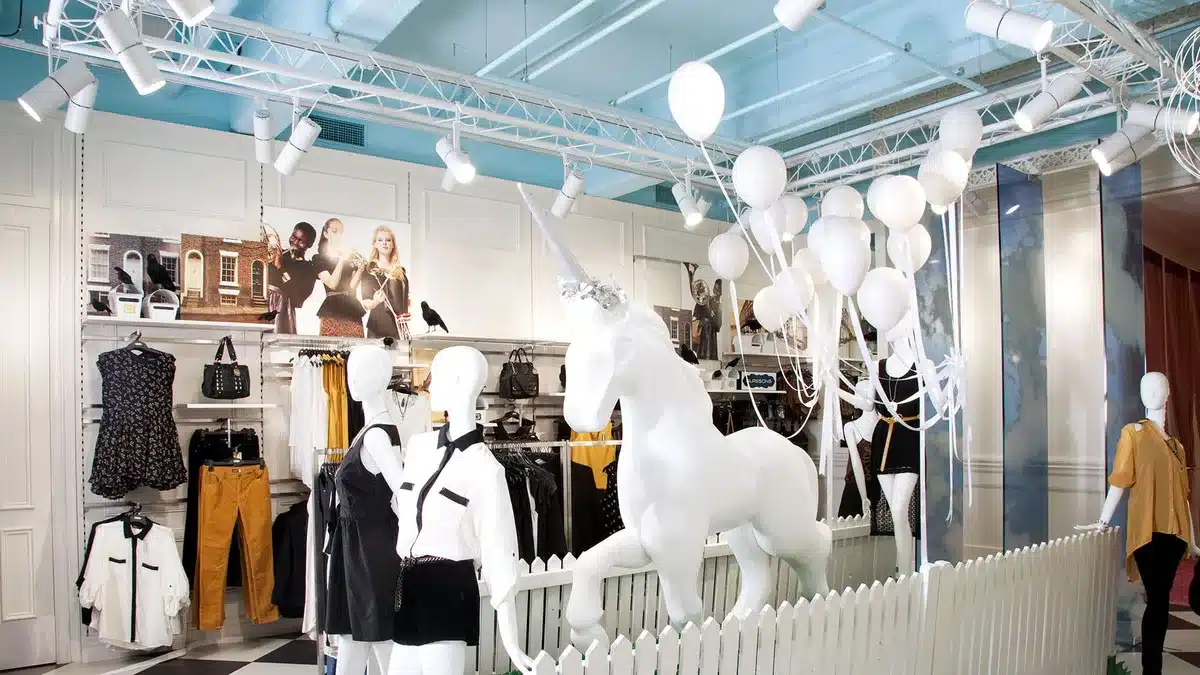
Use zones to give a store a sequence, so shoppers move from one area to the next and always know where they are. When Glassons extended and revamped its Queen Street store in Auckland into a flagship, the studio divided it into rooms that customers walk through as if they were in a grand villa: the Salon at the front, the Library in the centre and the Conservatory at the rear.
The architecture did the merchandising work. Corbels, ornate Victorian verandah fretwork and ceiling roses mark out the display zones and support the merchandise. The Conservatory also held a Web Lounge with built-in iPad stations, linking the store with online shopping.
How Should Shop Windows and Entrances Work?
A window has to stop someone walking past, and the entrance has to make it easy to step inside. At Wild Pair, a 149 square metre corner site in the 277 fashion precinct, the store had good visibility but very little wall space. The studio used the two large windows as displays facing both inwards and outwards, broken up with pine pigeon-holes to show different products.
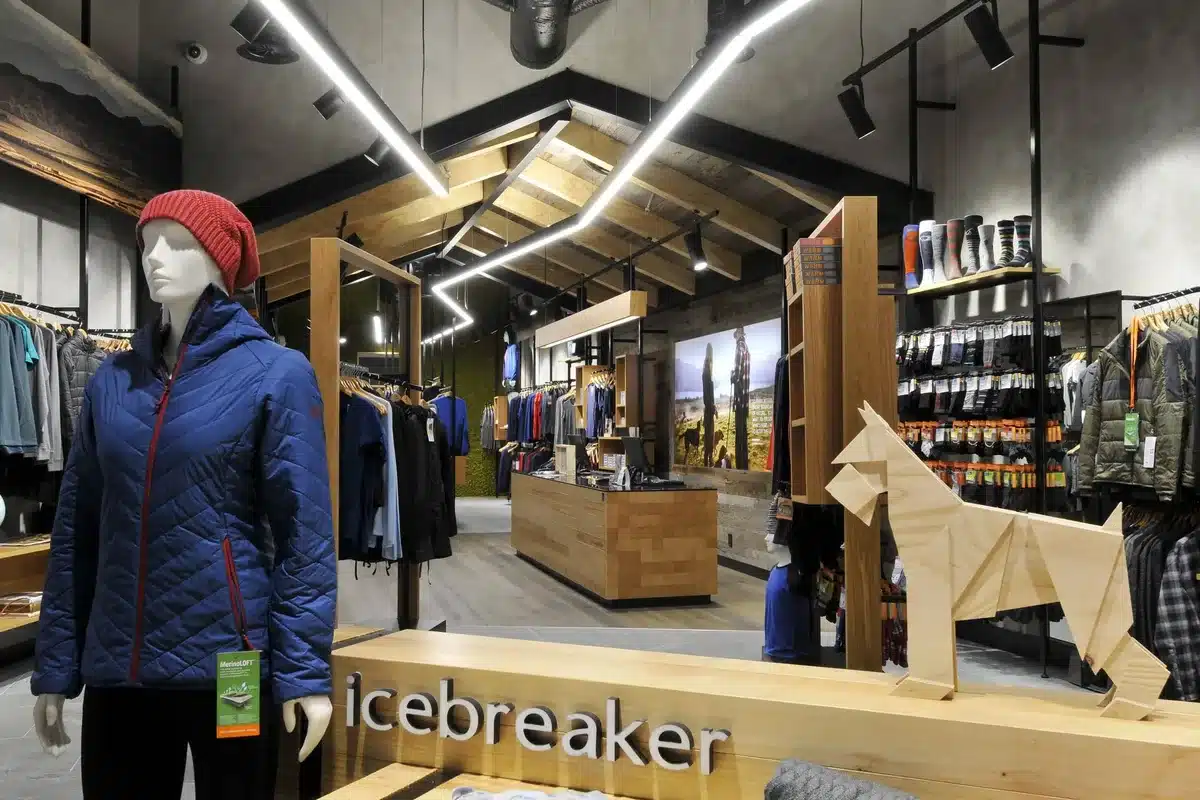
The Icebreaker store at Auckland Airport is narrow, so its shopfront is deliberately open and barn-like, letting travellers wander straight in. Inside, a back wall clad in real New Zealand moss and fixtures in New Zealand pine and ply set a New Zealand scene around the product.
Some shops have no street window at all. The Cosmetic Store took a first-floor site on Victoria Street in Auckland, reached only by a steep staircase, with high windows that are hard to see. The studio put the store’s feature colour on the entrance area and on a seating and make-up trial area, so the colour itself pulls customers up and in.
How Do You Stop the Store Competing With the Product?
Keep the backdrop quiet when the products are loud. At Kiwi Discovery, a souvenir shop at Auckland Airport, the brief called for a neutral palette that would complement the black and white logo and not compete with the multi-coloured packaging. The finishes stayed simple: white and timber joinery, black framing, soft green walls.
The Cosmetic Store took the same approach, keeping everything outside its feature areas white or neutral timber as a backdrop for a wide range of product colours. For the Trelise Cooper flagship in Wellington, the aim was to support the fashion without overpowering it, in a setting neutral enough to adapt to different clothes, seasons and events.
How Do You Create a Focal Point in a Store?
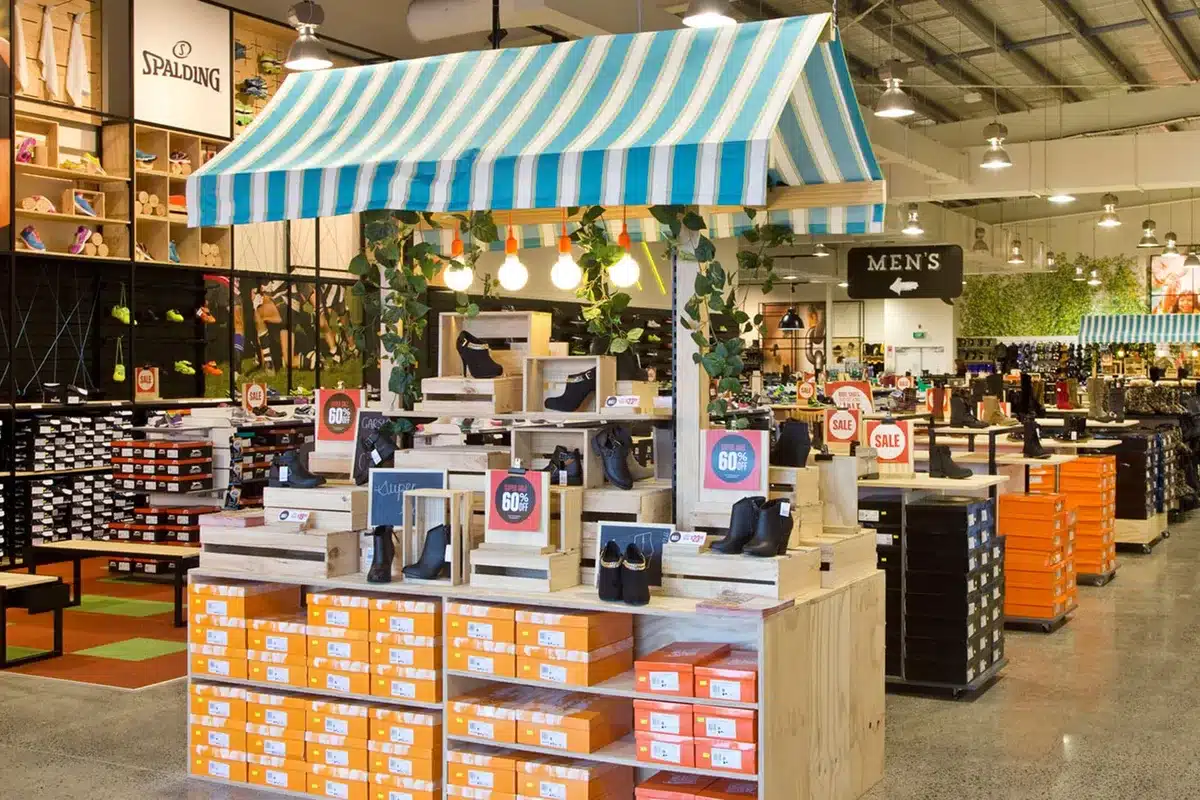
Create a focal point by changing the format in one place. At Number One Shoes, the studio gave certain areas of the store a market-like atmosphere to highlight featured product, using a kit of parts: new graphics, signage, visual merchandising, a modular steel frame system and plywood display units.
Small touches work too. Kiwi Discovery draws attention to its counter with hanging plants and pendant lights. At the Comvita kiosk at Auckland Airport, units shaped like beehives are placed seemingly at random, so customers browse through the stall the way they would a market. For more on using light to lead the eye, see the ten steps toward great retail lighting.
How Does Signage Support Visual Merchandising?
Signage tells shoppers what they are looking at before they have to ask. Write it for the most hurried customer in the store. At Kiwi Discovery, signs had to be explicit, because many customers are in a hurry and may not speak English. The racking was also made multi-functional, so most product categories can be displayed anywhere in the store and the signs move with the range.
How Do You Refresh Visual Merchandising on a Budget?
Change what customers see first and keep the rest. The Number One Shoes brief allowed little or no building work, and the refit had to be installed without closing the store. The studio’s kit of parts could be made off site and rolled out to many stores, while around 80% of the original fixtures stayed in place. The studio reports significant sales increases compared with stores that had not yet been refitted.
Reusable displays stretch a budget further. The Comvita units are hinged so they lock against each other after hours, and they can be reconfigured for other sites. If your store needs more than a refresh, the studio’s retail design and brand consultancy pages explain how a full project runs.
Visual Merchandising FAQs
What is visual merchandising?
Visual merchandising is the way a shop presents its products to sell them: the windows, the layout and zones, the fixtures, the displays, the signage, the lighting and the colours behind the stock. New Zealand’s Tahatū career service describes visual merchandisers as people who design and install displays in windows and store interiors.
What are the main elements of visual merchandising?
The main elements are the shop window and entrance, the store layout and its zones, fixtures and displays, focal points, signage, lighting, and the colour and material backdrop. A planogram is often used to set exactly where each product sits.
What is a planogram?
A planogram is a plan or diagram showing where each product goes on a shelf or display. Wikipedia describes planograms as visual representations of a store’s products on display and a tool for visual merchandising.
How much do visual merchandisers earn in New Zealand?
Tahatū gives the most common pay for visual merchandisers as $24 to $33 an hour, against a New Zealand average of $34 an hour. It also reports about 2,900 people doing the job at the 2023 Census, fewer than in 2018.
How can a small shop improve its visual merchandising on a budget?
Keep what works and change what customers see first: graphics, signage, a few new display units and one strong feature area. Studio Gascoigne’s refit for Number One Shoes kept around 80% of the existing fixtures and was installed without closing the store.
Top photo: Glassons flagship, Queen Street, Auckland, by Birgit Utech. Sources: Tahatū, “Visual merchandiser” (checked October 2026); Wikipedia, “Planogram”; Studio Gascoigne project pages (Glassons flagship, Wild Pair, Icebreaker, The Cosmetic Store, Kiwi Discovery, Trelise Cooper, Number One Shoes, Comvita).