A mall kiosk is a shop with the walls taken away. It has no door to hold people in, no ceiling of its own and no back room unless you build one. Every decision is visible from four sides at once, which is why kiosk design rewards a tighter brief than a normal retail fit-out. Get the layout and the lighting right and a small footprint can trade well above its size. Get them wrong and the kiosk becomes an expensive display stand.
This guide covers the parts that decide whether a kiosk works: the trading brief, the layout zones, materials that survive mall traffic, layered lighting, branding at close range, the approvals and clearances you cannot design around, and the cost drivers that move a budget most.
Key takeaways
- Design the kiosk around one clear trading sequence: attract, demonstrate, transact, store.
- Keep at least one open side genuinely open. A kiosk that reads as a wall loses passing trade.
- Light in layers, because a mall ceiling is not yours to control.
- Choose materials for the kick zone, the counter edge and the cleaning regime, not just for the render.
- Check the landlord’s design manual and the Building Code before the joinery is drawn, not after.
- Cost overruns often come from power upgrades, after-hours installation and make-good obligations.
Why kiosk design is different from shop design
A permanent store controls its threshold. A kiosk borrows its threshold from the mall corridor. Shoppers approach from several directions, often at walking pace, and decide in a few seconds whether the offer is relevant. The design has to answer three questions at once: what is sold here, why stop now, and can I pay without feeling queued.
The constraints are just as distinctive. Structure, power, data, fire services and cleaning usually belong to the landlord. The kiosk must fit inside those services without blocking them. Storage is scarce, so stock replenishment happens in public view or after hours. And the whole assembly may need to be removed or reconfigured at the end of a licence term, which changes how you detail the base, the services and the finishes.
Start with the trading brief, not the joinery
Before anyone draws a counter, write down how the kiosk actually trades. How many staff are on at peak? Does the product need a demonstration, a sample, a fitting or a conversation? Where does stock live during the day? How is it restocked? What does a transaction look like when the queue is three deep?
The answers point to a kiosk type. A grab-and-go offer needs a fast payment face and very little demonstration space. A service offer needs a seat, a screen or a mirror. A gifting or speciality offer needs room to browse and a place to wrap. Mixing two models on one small footprint usually means neither works.
| Kiosk type | Best for | Layout priority |
|---|---|---|
| Grab and go | Food, drinks, small accessories, impulse buys | Fast payment face, clear price display, queue space that does not block the corridor |
| Demonstration | Tech, beauty, homeware, anything that needs a trial | A generous working surface and a clear sightline from the approach |
| Consultation | Phones, insurance, travel, personal services | A seat and a private edge, with a separate place to wait |
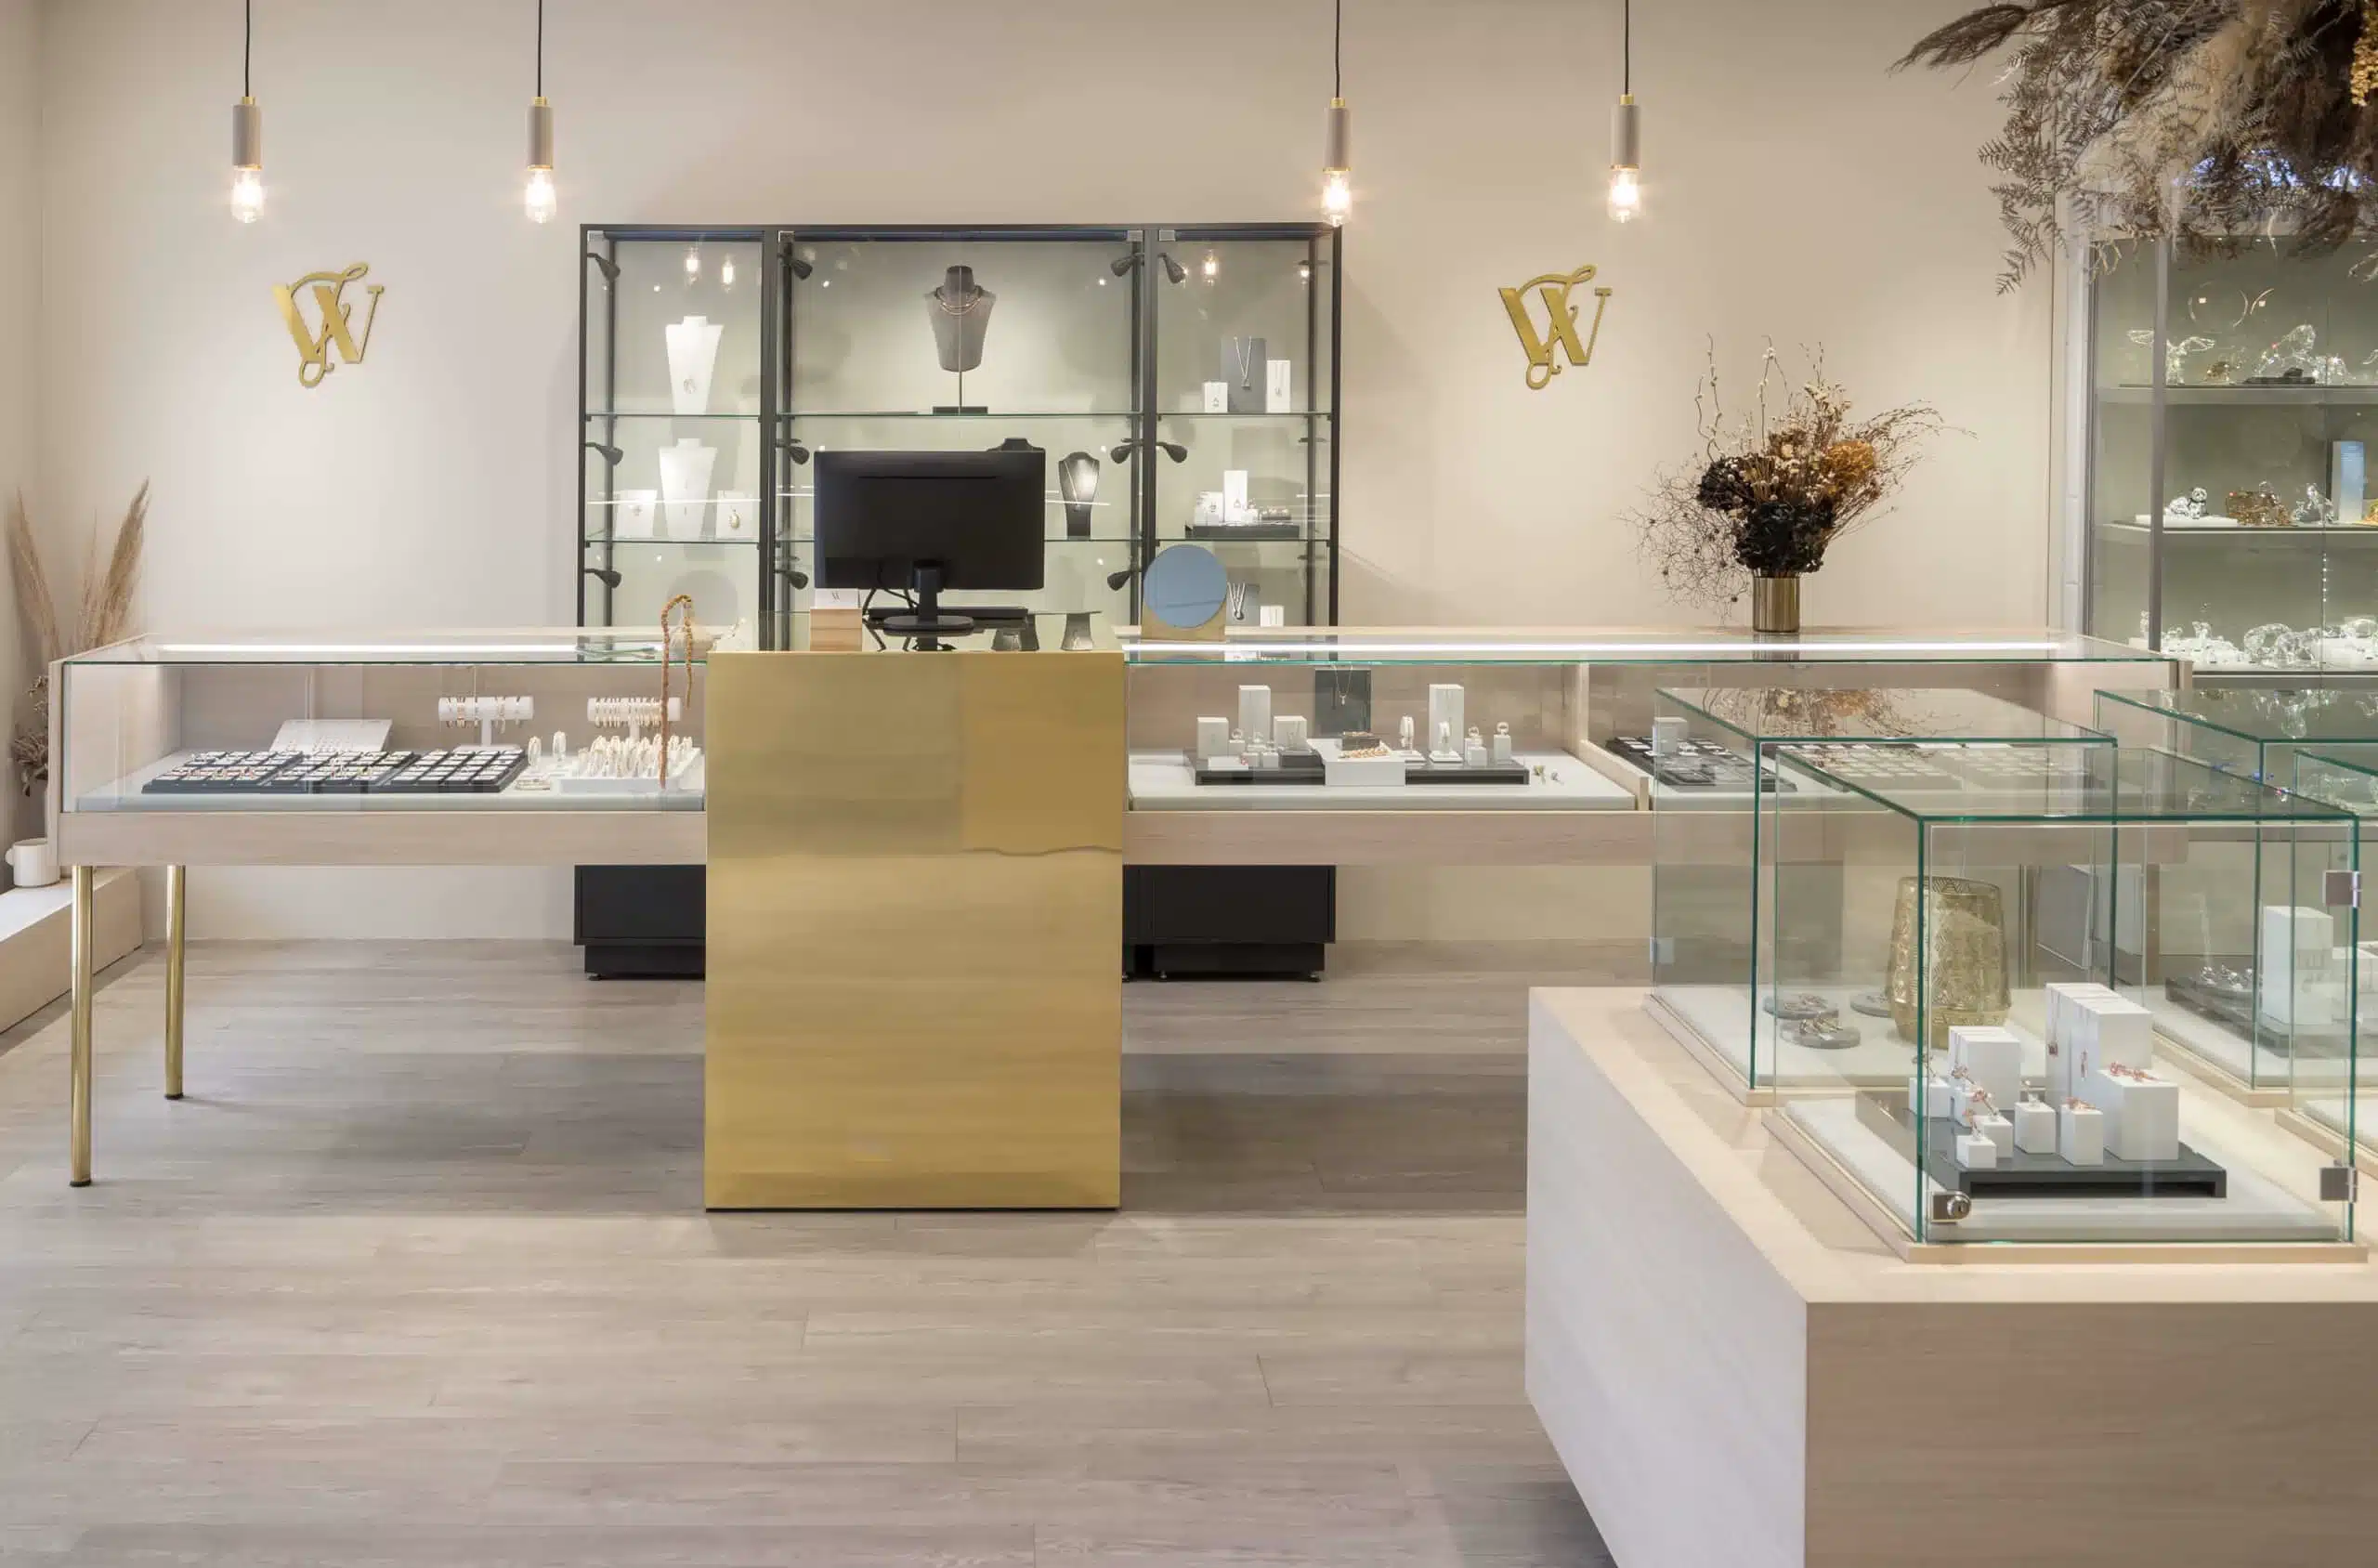
| Showcase | Jewellery, watches, collectibles, premium gifting | Controlled sightlines, secure cases, and a transaction point that feels calm. See our guide to jewellery store design. |
Layout: the four zones of a working kiosk
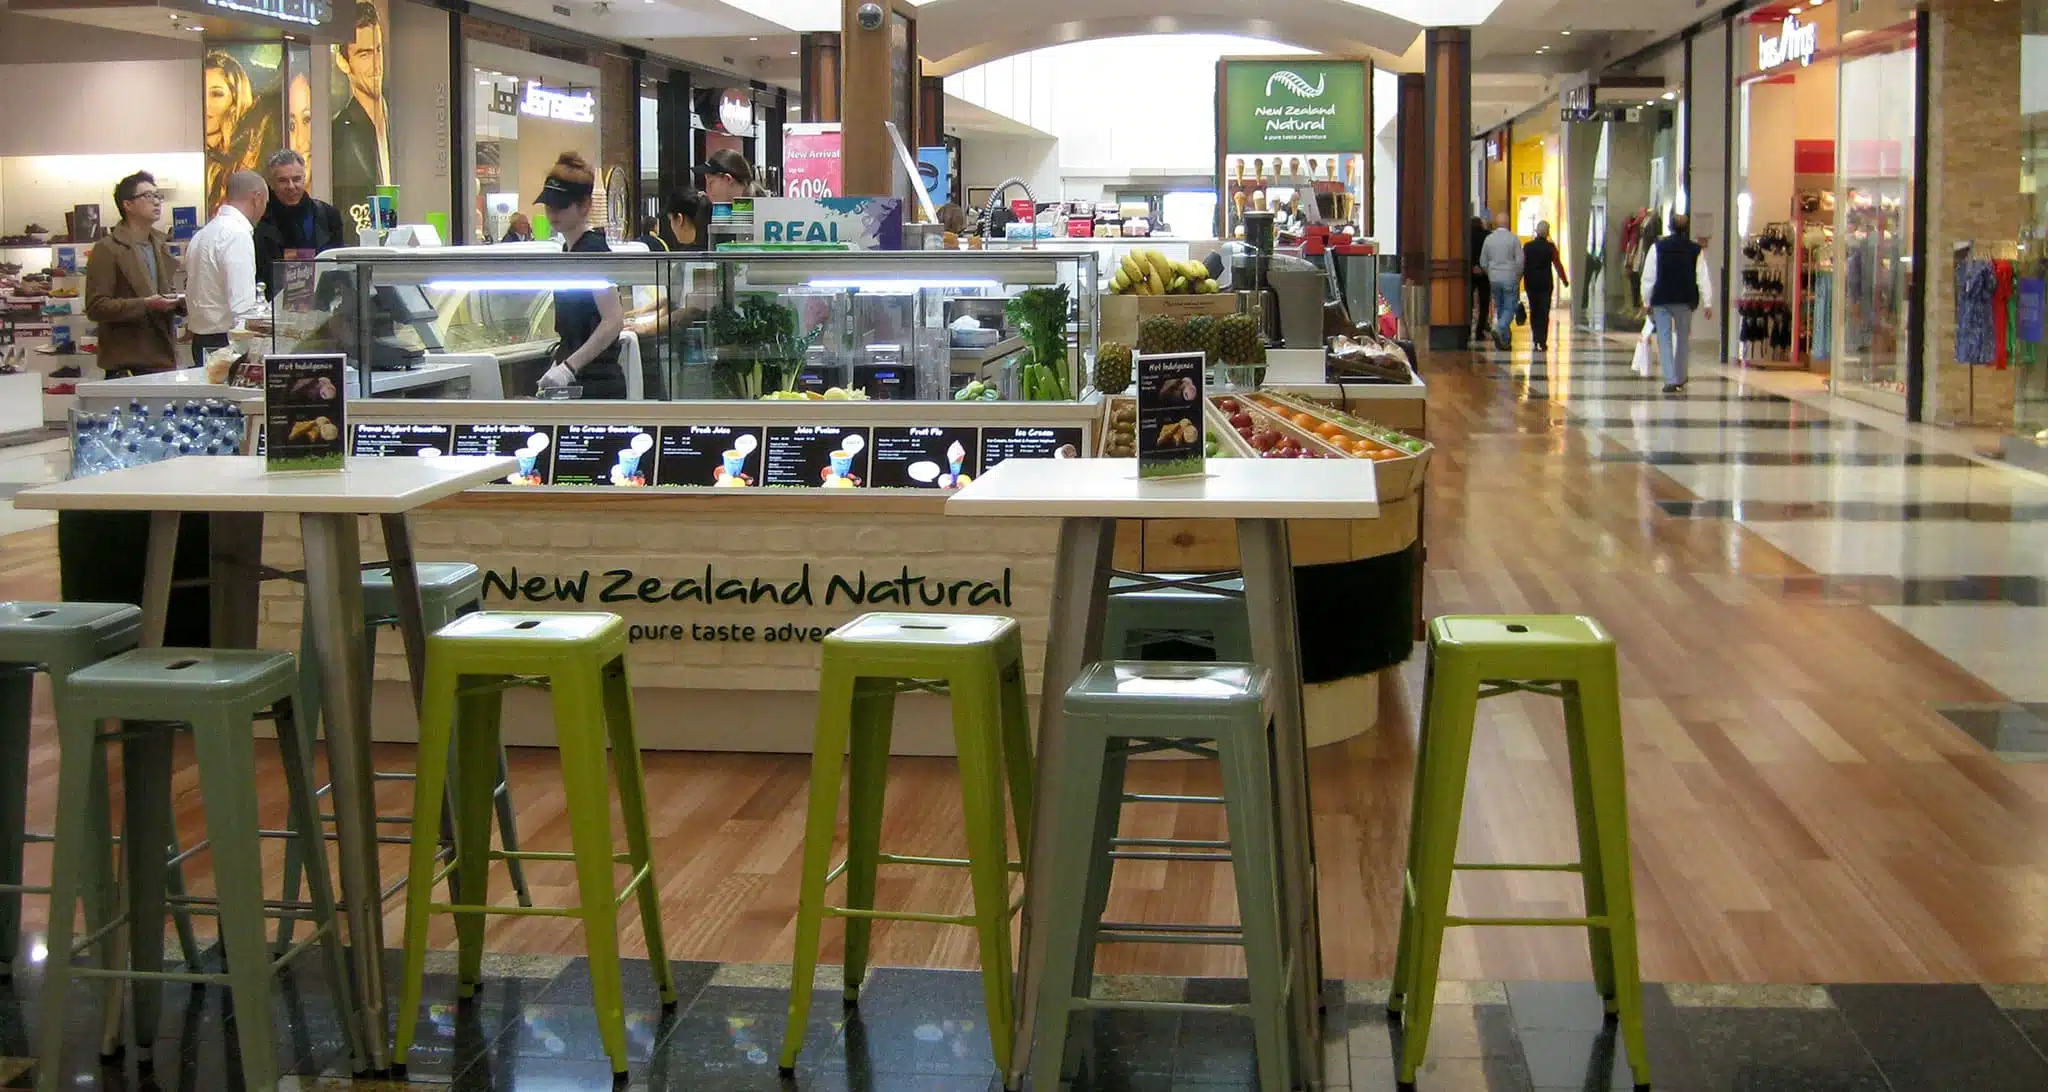
A successful kiosk usually resolves into four zones, even when the footprint is only a few square metres. The first is the display edge, the face that does the attracting. The second is the demonstration or interaction zone, where a customer handles the product or talks to staff. The third is the transaction point, where payment and wrapping happen. The fourth is storage, which can be a lockable base, a tall cabinet or a compact back-of-house unit.
Draw the circulation before you draw the joinery. Customers should be able to approach, stop, transact and leave without crossing a staff route or stepping into the mall’s main flow. Leave a clear path around the open sides and keep the corners generous. The Building Code’s access routes clause and the NZS 4121 access standard set the expectations for accessible routes and clear space, and the kiosk must not reduce the mall’s accessible routes or the clear space around them.
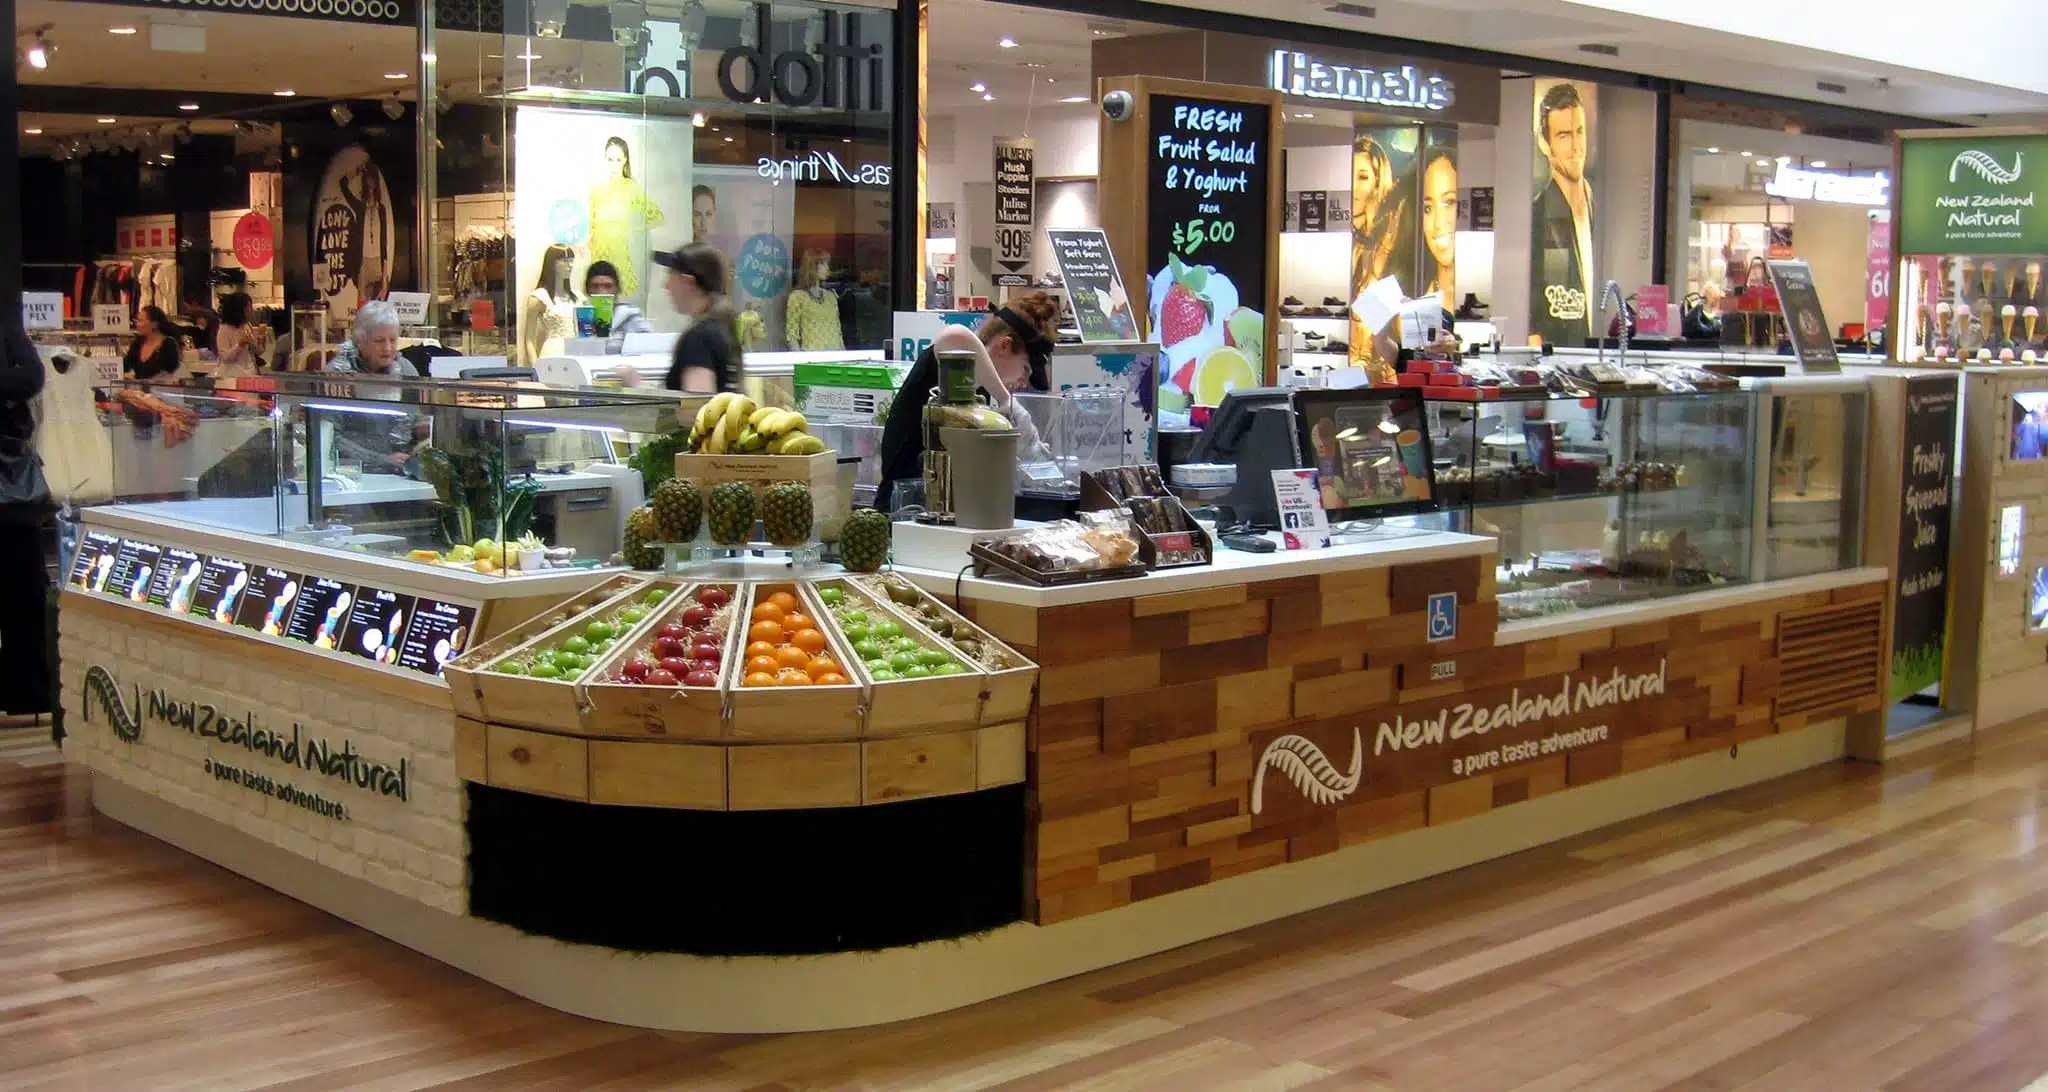
Height matters as much as plan. A counter that hides the product from a standing shopper wastes the display face. A high counter that hides the staff creates a barrier. In practice, split the difference: a lower display ledge at the front, a working counter at the back, and one section at an accessible height for seated customers and wheelchair users. The same logic applies to card terminals, screens and price displays, which should be reachable without leaning across a display.
Materials that survive a mall
A kiosk is touched more intensively than a shop of the same size. Constant handling, bags and prams pass the edges every day, and cleaning happens more often. The finish schedule should be chosen for that life, not for the first photograph.
- Solid surface for counter tops and display ledges. It can be repaired, shaped with a soft edge and cleaned hard.
- High pressure laminate for vertical faces and storage. Specify a commercial grade and a matching edge, because exposed chipboard edges fail first.
- Powder-coated steel for frames, legs, plinths and security details. It takes knocks and reads as precise.
- Toughened or laminated glass for display tops and screens, with polished edges and a fixing detail that can be replaced. Glass in a public area must meet the human impact safety requirements of NZS 4223.3.
- Luxury vinyl tile or porcelain for the base, subject to the mall’s floor protection rules and the kiosk’s own weight limits.
Two specifications matter more than the surface colour. The first is fire performance: lining, foam, adhesives and laminates need to meet the fire requirements that apply to the mall and the kiosk’s location. The second is low-emission finish: low VOC paints, adhesives and sealants keep the kiosk usable sooner and are easier to defend in a design review. See our article on showroom design.
Lighting a kiosk with no ceiling
The mall controls the ambient light. The kiosk controls only what it adds. That makes lighting a layering exercise: a general layer to lift the kiosk above the corridor, an accent layer to make product and displays read, and a task layer for staff and transactions. Track, tensioned wire systems and pendant drops are the usual ways to hang light without building a ceiling, subject to the landlord’s suspension and load rules.
Use a neutral white for product truth and a warmer white for atmosphere. A colour temperature around 4000 K with a high colour rendering index is a practical starting point for merchandise, while 3000 K suits hospitality and gifting offers. Keep the two consistent within a zone, because a mixed palette makes metal, skin and packaging look wrong. The AS/NZS 1680 interior lighting series is the reference point for maintained illuminance and glare control. See our guide to retail lighting design.
Three details are easy to miss. First, heat: enclosed LED fittings and display cases need ventilation or the driver life drops. Second, glare: a bright fitting at eye height blinds the shopper who is trying to read a price. Third, emergency lighting and exit signage may be landlord supplied, but the kiosk must not obscure them. Confirm the lighting load and the available circuits before you specify fittings, because a power upgrade is a common and easily missed cost in a kiosk project.
Branding at kiosk scale
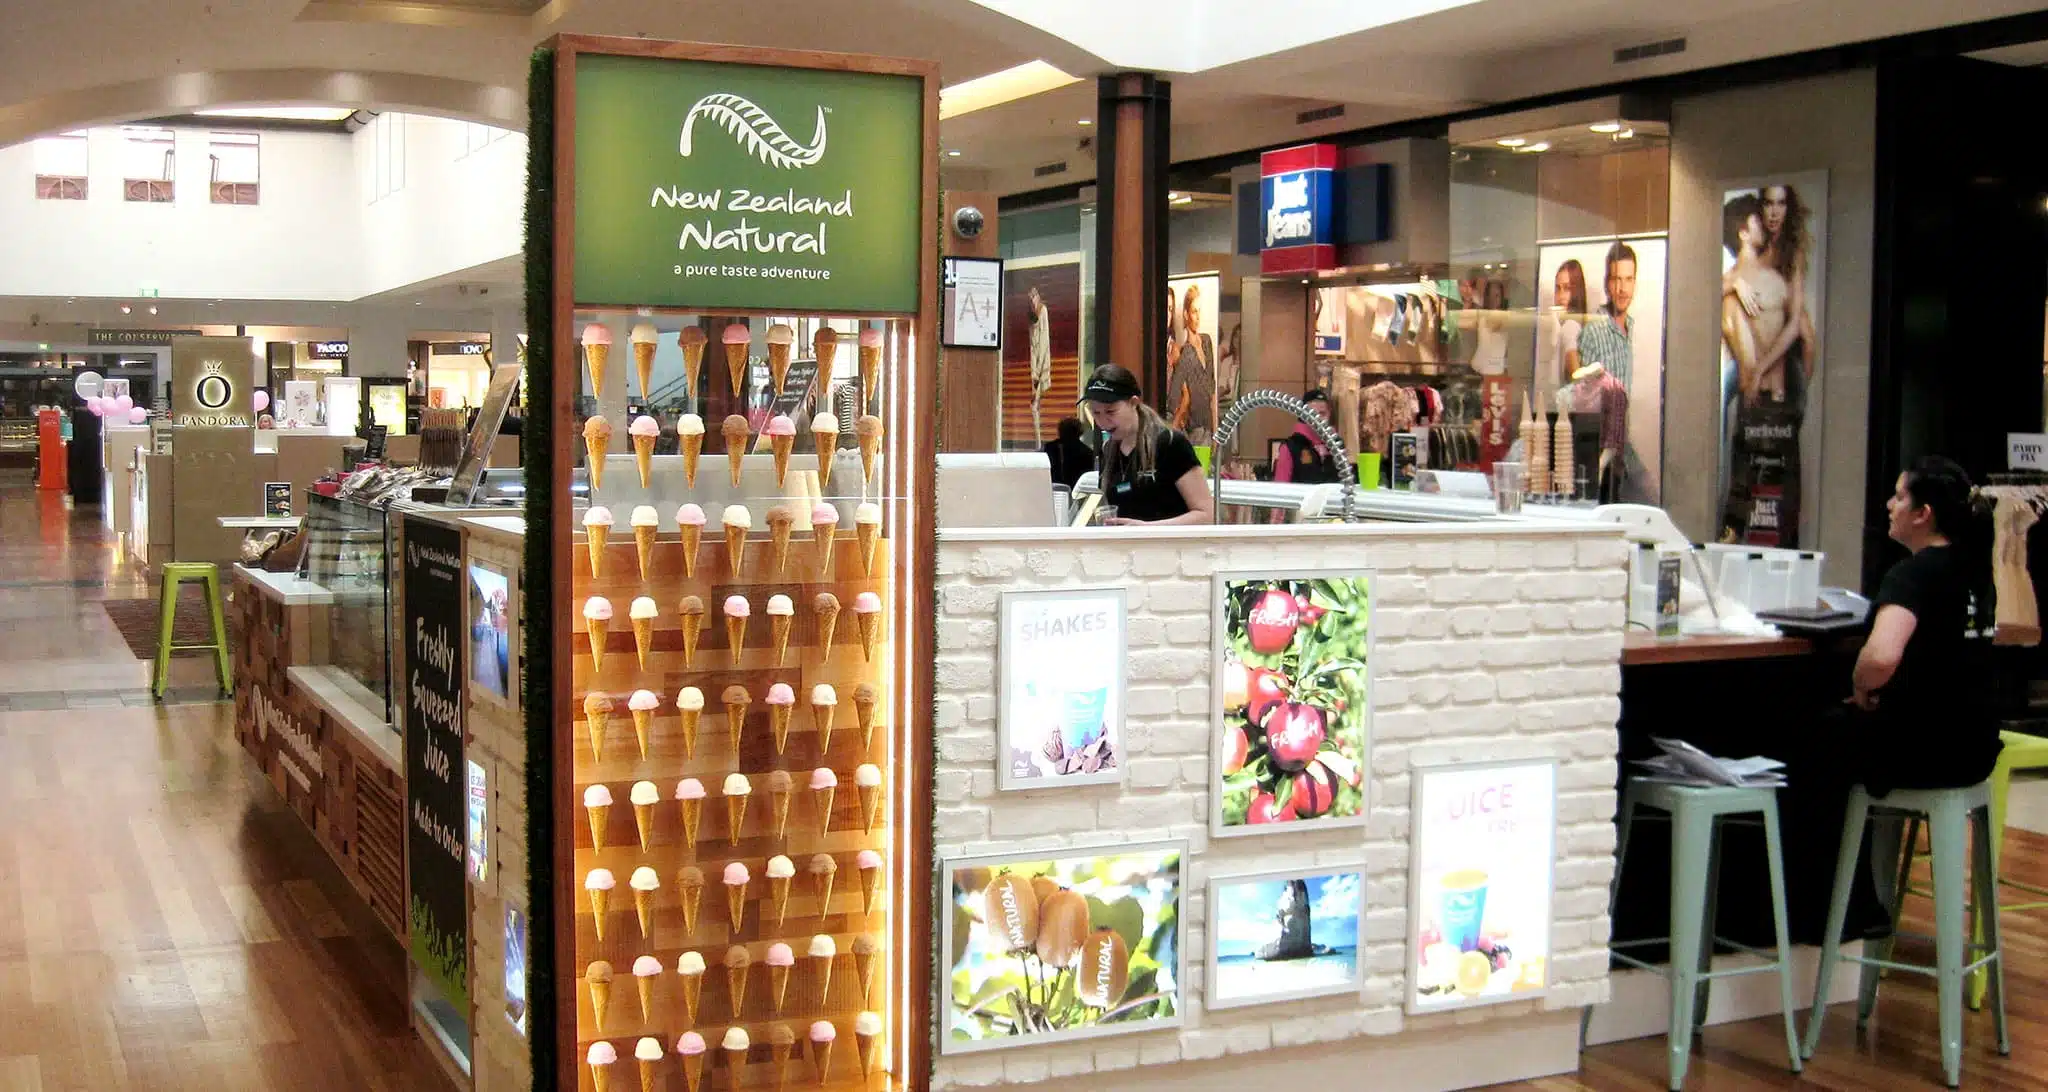
A kiosk has roughly one sentence to introduce itself. The name, the category and the reason to stop should be legible from the main approach, not just from directly in front. That usually means one dominant brand element, one clear product signal and one price or offer cue. More than that competes with itself.
Signage is part of the landlord approval, not an afterthought. Illuminated signs, digital screens and projecting elements may have separate rules for size, brightness, fixing and noise. Screens also need a content plan: a static logo loop is invisible after the first week, while a well sequenced product loop keeps working when staff are busy. Keep the screen brightness matched to the mall lighting so it reads as a light box rather than a glare source.
Regulations, approvals and clearances
A mall kiosk sits inside a building that already has a compliance story. Your fit-out has to fit that story. The landlord’s design manual is the first document to read, because it sets the approval sequence, the permitted materials, the signage rules, the power and data provisions, the waste arrangements and the make-good obligations. Delays often come from discovering a manual requirement after the shop drawings are complete.
Building consent is separate from landlord approval. A kiosk fit-out may need consent when it involves structure, changes to fire safety systems, or plumbing and drainage. A change of use is notified to the council separately. Even a modest coffee or food kiosk needs to register under the Food Act 2014, and any sink or grease trap brings the council’s trade waste rules and the landlord’s waste requirements into scope. Access, egress and the existing fire safety systems need to be checked against the Building Code, and the kiosk must not narrow an escape route or obstruct a fire hose reel, extinguisher, manual call point or exit sign. A canopy or tall element can block sprinkler coverage, and altering the sprinkler system usually needs consent and an update to the building’s compliance schedule.
Use the official guidance rather than a forum answer. The Ministry of Business, Innovation and Employment publishes the Building Code D1 access routes guidance, and Retail NZ is the industry body for retail operating questions. For a food or beverage offer, the local council registers most single site food businesses, and will tell you whether you need a food control plan or a national programme.
Cost drivers
Kiosk budgets vary far more than shop budgets because so much of the cost sits in services, access and compliance rather than in the visible joinery. The table below shows where the money goes and how to keep control of it.
| Cost driver | What pushes it up | How to control it |
|---|---|---|
| Power and data | New circuits, upgraded supply, longer cable runs, late changes to equipment | Confirm the load and the connection point before joinery is finalised |
| Joinery complexity | Curves, mitred stone, integrated lighting, bespoke locks and hidden fixings | Standardise case sizes and repeat details across the kiosk |
| Materials | Natural stone, solid timber, specialist glass, imported finishes | Use durable engineered surfaces where the hand does not touch |
| Installation access | After-hours work, mall inductions, lifts, protection of common areas | Book access early and build the programme around mall hours |
| Approvals | Late design review, missing fire information, signage variations | Submit a complete pack once and keep a decision log |
| Make good | Floor fixings, services left behind, reinstatement clauses | Design for removal and photograph the base condition before work starts |
Working with the mall and the fit-out team
Reliable kiosk projects run on one shared programme. The landlord approves the design and the access. The joinery shop builds to approved drawings. The electrician and the signage supplier work to the same load schedule. The installer protects the mall floor and leaves the services labelled. A design studio, a shopfitter and a project manager who all see the same drawing set will save more time than any single clever detail. Our guide to selecting and contracting a shopfitter covers the tender and contract side.
Allow for a soft opening period. A kiosk is a live experiment in a public corridor, and the first week will show whether the display edge is in the right place, whether the queue forms where you expected and whether the lighting reads at night. Build in a small adjustment budget for brackets, shelves, signage and light positions rather than treating the handover as the end of the project.
Planning a fit-out?
Tell us about the space, the offer and the approvals you already have. We can test the layout, the lighting and the material palette before you commit to joinery.
Planning a fit-out?
Tell us about your site, timing and brief. Studio Gascoigne designs retail, hospitality and workplace interiors across New Zealand.
Frequently asked questions
Do I need building consent for a mall kiosk?
It depends on the work. Building consent is usually needed for structural work, changes to fire safety or other specified systems, and most plumbing or drainage work. A change of use is a separate step: you must notify the council and the building may need upgrading. Landlord approval is always separate and usually comes first.
How much space does a kiosk need?
Enough for the four zones to work without overlap: display, demonstration, transaction and storage. A very small kiosk can still trade well if storage is vertical and the transaction point is separate from the display edge.
What lighting is best for a retail kiosk?
Layered lighting with a neutral white for merchandise and a warmer white for atmosphere. A colour temperature around 4000 K and a high colour rendering index is a practical starting point, with glare controlled at eye height.
How long does a kiosk fit-out take?
It depends on the landlord’s approval process, the joinery lead time and the available installation windows. The design and approval stage usually takes longer than the build, so start with the design manual and the services connection.
Can a kiosk be reused or moved?
It can, if it is designed as a set of modules with accessible fixings, labelled services and a base that can be separated from the floor. Reuse is much harder when lighting, data and power are built into closed joinery.
Related reading
- Showroom design for display-led retail spaces.
- Retail store design ideas that boost sales and brand identity for the wider store.
- Visual merchandising ideas from real NZ stores for the display plan.